Cables labeling
Recently, I was adding new server hardware. I took it as an opportunity to rewire all network cables. This article explains how the task was performed.
Cables management is like regular backups: everybody (by everybody, I mean people who actually deal with server hardware) knows this is important, but most people are too lazy to do it. And just like with regular backups, when cabling management is not done properly or at all, it may—and probably will—transform itself into a big headache and a lot of waste of effort an money.
I started to do cables management years before purchasing my first rack server. I remember myself crawling under the table in my bedsit rerouting cables or spending hours at night gazing at spaghetti cabling images (is that pornography for geeks?) or reading about cabling management in real data centers.
Years passed, and I'm now taking care of a configuration consisting of two servers, one workstation, two UPS units and one switch.
But I digress. Let's talk about cables-related stuff.
Step 1
Temporary labeling
An essential step is to determine which cable does what, and to label it. It is essential because if you don't, you may find yourself routing cables to the wrong direction, and you probably don't want to redo all the hard work.
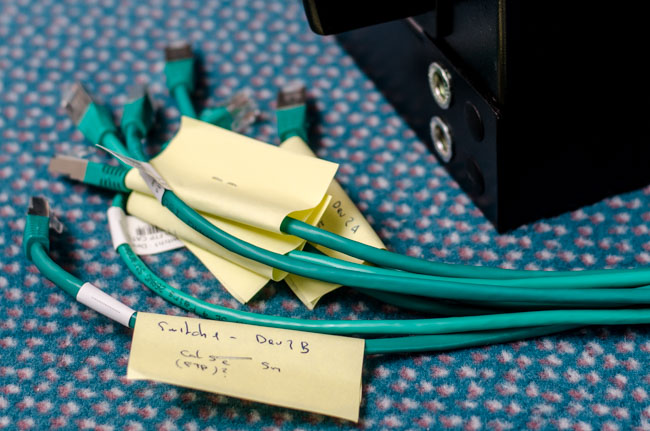
The fastest and inexpensive way I've found to temporary label cables is to use post-its. Since they detach easily, one can staple them like shown on the photo above. Staple it close enough to the cable to prevent the post-it from slipping from the ending of the cable, but be careful to not damage the cable itself.
The cables should be temporary labeled on both sides. All cables should be labeled, even the ones which already have a label which will remain unchanged.
Step 2
Tie the cables
Now it's time to group cables together. Depending on the number of cables and combinations, it may require to do it on paper first. In my case, I just made an informal basic schema showing where do different cables go.
Then I used cable ties to group the cables and cut tie endings. I'm unhappy with the result, because it becomes easy to cut oneself with the tie, but I don't know any better way to do it. When I look at the photos of data centers on internet, I have an impression that the endings are cut very close to the head. I don't know how this is done.
Step 3
Route the cables
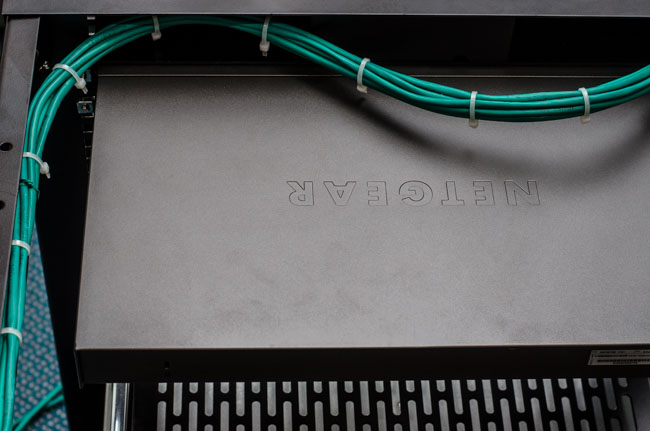
The next step consists of routing the cables through the rack and outside of it. Instead of a industrial rack cabinet, I have an open frame rack which has nothing for cables management. A bit of imagination helped routing the cables from the switch on the front to the back of the rack, but I wouldn't be able to do it with more cables.
This showed me how important is to get a real rack cabinet. Using patch panels could have solved a few problems, but still, even vertically, it would be difficult to route the cables in a non-intrusive way.
Post-its were also slightly annoying because I had to route the cables through the holes in the rack cabinet. With an industrial rack cabinet, this wouldn't be an issue.
Step 4
Replace temporary labels by permanent ones
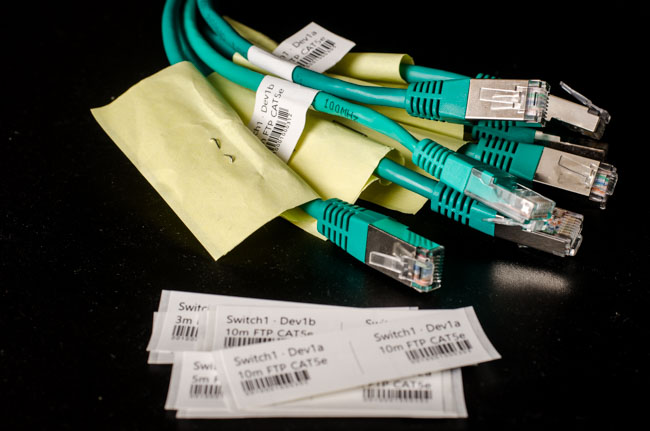
Once the cables are properly routed, the last step is to remove temporary labels one per one, and replace them by the permanent ones. I use Brother QL-700 to print labels, but any other label printer will do the trick. On the other hand, you do need an actual label printer.
It's up to you to define what will the label contain. In my case, it has the name of the source and of the destination of the cable, then the length and the type of the cable, and then the barcode corresponding to the cable ID which makes it possible to identify the cable with a simple barcode reader.
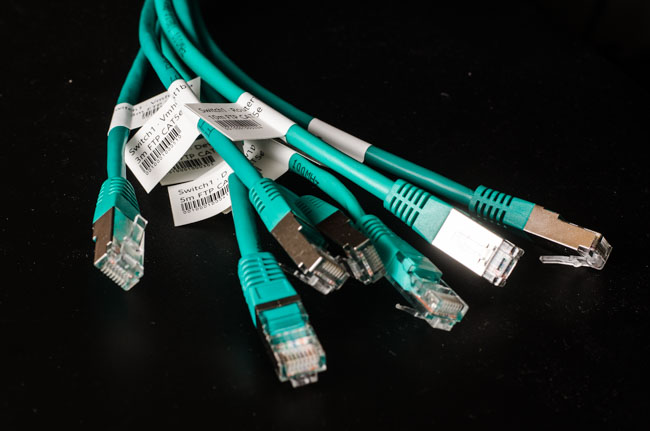
This is the final result. The cables are now ready to be connected to the switch.


